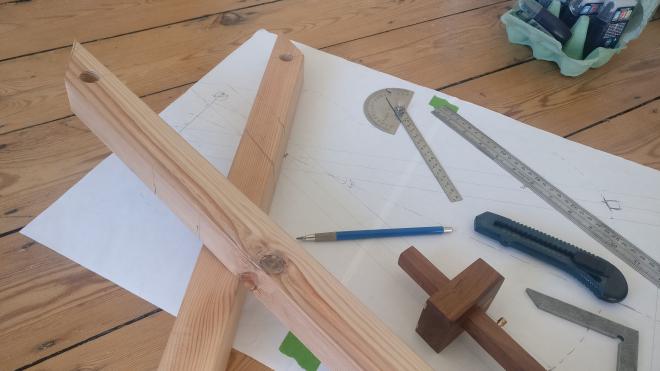
I had some spare wood lying around and needed a new guitar stand and though I should try my hand at some traditional joinery. Because of the scale of the construction, I thought I’d also try doing full scale drawings to check for size against the guitar using stuck together sheets of A3 drafting paper. This worked pretty well, which surprised me, and meant that I could use exactly the same drawings to cut the wood to scale.
Joinery Joints#
Cutting the joints was hard for someone who hasn’t done this before. I watched a lot of the videos from Rex Krueger on YouTube (among others) and bought a cheap set of chisels to work through the cuts. There are two main joints to build here:
- The central cross lap joint between the two main uprights.
- The mortise & tenon joints for the “fingers” to hold the guitar up.
- What is effectively an odd dovetail joint to hold in the rear leg. This last one is odd because it cuts into the angle made by the first lap joint.
Cutting the first lap joints was fairly easy, and if anything I wasn’t quite precise enough with my cuts and left a little too much play in the cuts. Stripping out the wood from between the cuts cleanly was a little tricky, but by making several straight cuts with the saw I got fairly good results.
Cutting the Tenons (i.e. the bits that go in the holes) was easy, but cutting the Mortices (the holes which the tenons fit into) was much harder. I think this is where if I had better kit I might be more prepared, and where experience of doing it before would have helped. In the end, after marking up on both sides, I drilled through the full distance with a drill bit slightly smaller than the mortice width, and then squared up the hole with a chisel. Keeping the hole square and straight was tricky, especially given my drill hole wasn’t totally straight.
Finally the Dovetail was probably the hardest, and in retrospect I probably attempted something far beyond my skill level here. Not helped by the inaccuracy in the original lap joint. On the plus side, once I did get it to fit, it tightened up that lap joint so that there wasn’t any play in the final stand at all.

Update: Leather pads#
After using the stand for a few months, I bought some “Upholstery Nails” and used some scrap leather to add some padding to the holding struts. Seen here with the guitar from my lockdown guitar building .