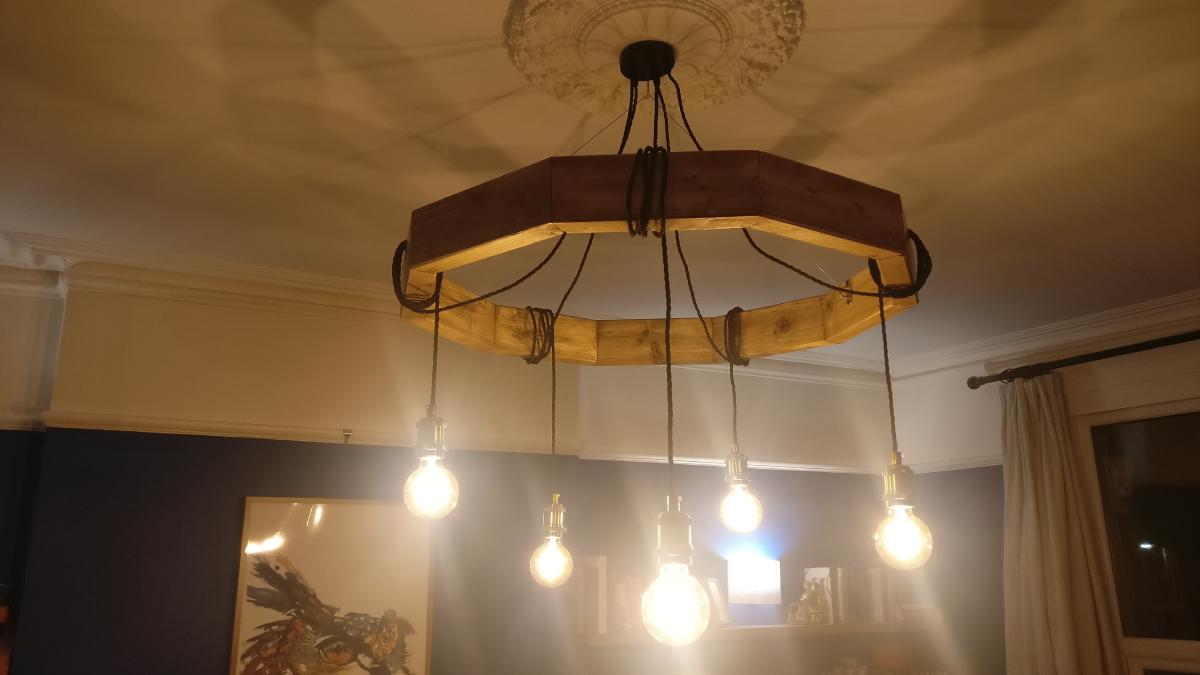
Out new flat has a fairly large living room with a high ceiling. With just a tiny lightbulb hanging in the middle it felt oddly empty, so I set out, inspired by the “vintage cartwheel lights” often seen hanging in tents & marquees to do something similar, but on a budget.
Design#
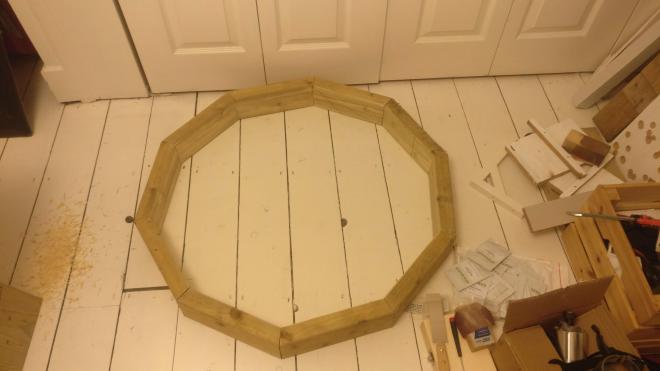
I settled fairly quickly on making something out of straight segments in a polygon. Making round things is hard (especially given I wanted it to look fairly chunky), and straight scrap wood is plentiful. I has several lengths of construction timber lying around too which would fulfil the purpose.
Geometrically the idea was easy, I wanted an odd number of lights (because we all know the best things come in odd numbers), and I wanted it to hang ideally from three points. Three lights seemed too few, and seven was too many, so five was an easy choice. Five lights and three points meant… a fifteen section wheel, which sounded too difficult and fiddly. In the end then I went down to two mount points, that mean I needed an even number that divided by five… ten!.
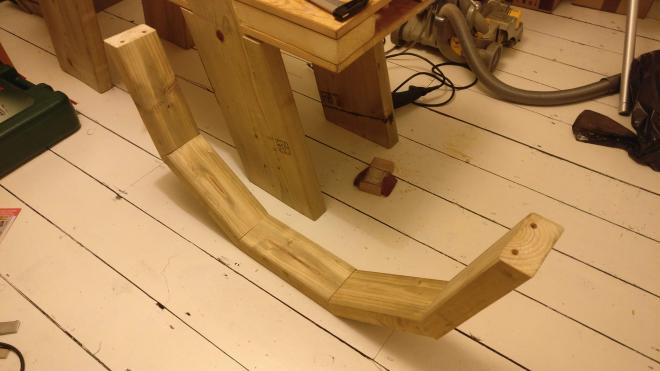
Having a segmented wheel with ten segments, with a specific diameter means I can quite simply calculate the length of each segment, the angles required on each end and then just cut the pieces. However, what I didn’t think of ahead of time was just how sensitive this design is to slightly wrong angles on the ends. I first noticed this when test assembling all the pieces together (loose) and you can see from the picture, that there are quite significant gaps at some of the joints. Not a problem visually given the rustic look I was going for but potentially an issue geometrically if I wanted this thing to look roughly round.
Assembly#
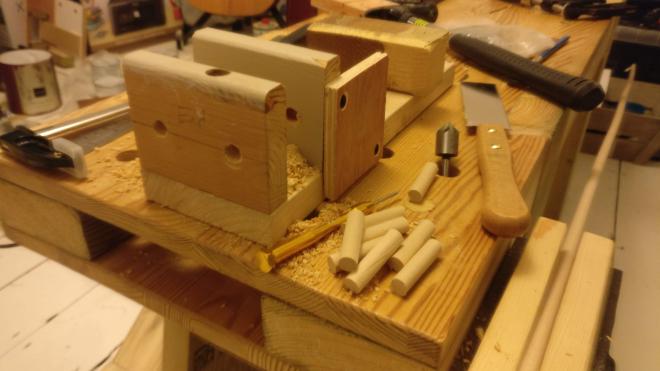
Glueing end-grain together is notoriously a bad idea structurally, and especially with the dodgy fit at each joint, I knew that something else was going to be required. I settled on the idea of using dowels at each joint. Two at each join to maintain alignment.
Given my new found appreciation for accuracy and consistency after my cutting step I made a jig to align the drill holes. Not fancy, and made out of scraps, but enough to make sure my dowel placement was relatively accurate.
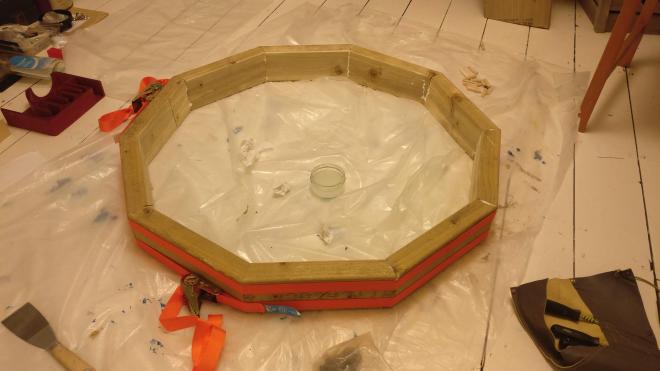
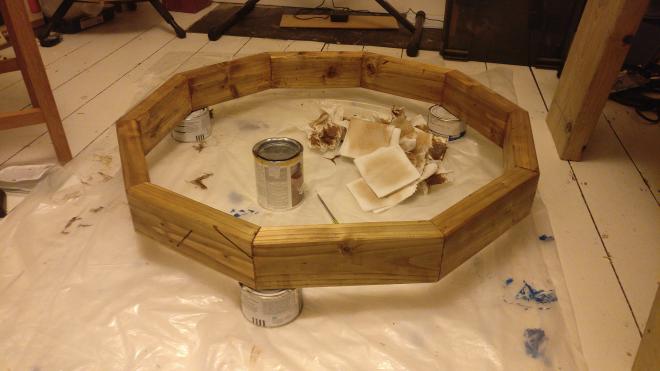
Once all the holes were drilled, I could assemble two “half wheels”. Glue on the dowels at each joint and then some vigorous hammering to get everything to fit together.
For the final glue-up however, I couldn’t use my normal clamps. Applying point-pressure on either side of the circle would just buckle it, and I didn’t have anything which could angle clamp effectively in isolation. What I did manage to get however were some ratchet tie-down straps, which I could clamp all the way around the perimeter and then tighten right down to ensure a strong glue bond. I read this tip on either reddit or youtube, but I can’t remember the link to reference it here. Whoever it was, thank you!
Staining#
I has some leftover stain from the shelving project which worked perfectly, given both are going to be in the same room. Two coats was sufficient to get a good tone on it.
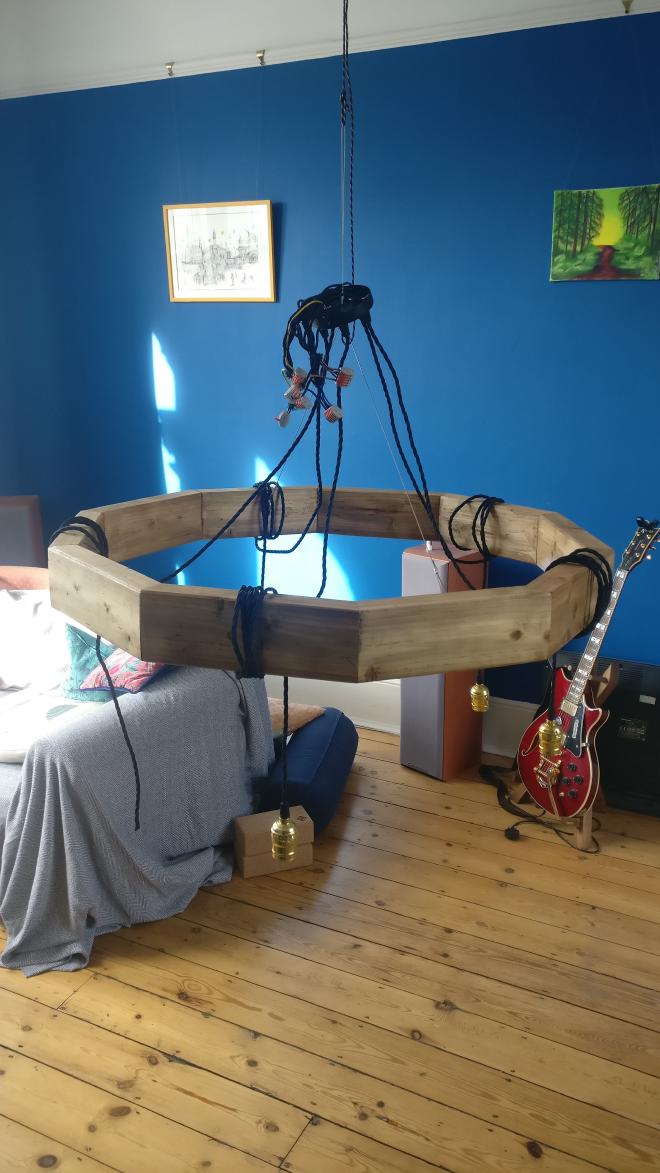
Hanging & Wiring#
What was harder than expected on this project was hanging. With metal brackets for the hanging wire, and crimping some stainless steel cable in a loop I made a handing harness which I could test for balance. Adding the electrical wiring onto that was even harder to balance, and was also very fiddly because it’s just a lot of cables. They way I worked aruodn this was to hand the whole thing from the right point but on a longer rope to start with, which means I could test all the cables and balance at a normal working height, and then only right at the end to hoist up to the ceiling for it’s final position.