Antoine at Ondanova surfboards is very chill. I thoroughly enjoyed my workshop with him and I can totally recommend. Check out their website for more details.
Taking some time between jobs, I took the car down to Lisbon on the ferry to do something I’ve wanted to do for ages, and that’s build a surfboard.
There are loads of options when it comes for shaping a traditional epoxy board, where you can go and get covered in plastic foam and live in a brightly lit cube for a few days. That didn’t sound very enticing, so when I heard about the option to go and build one from wood, in some beautiful surroundings, I just needed to find the excuse and time to go.
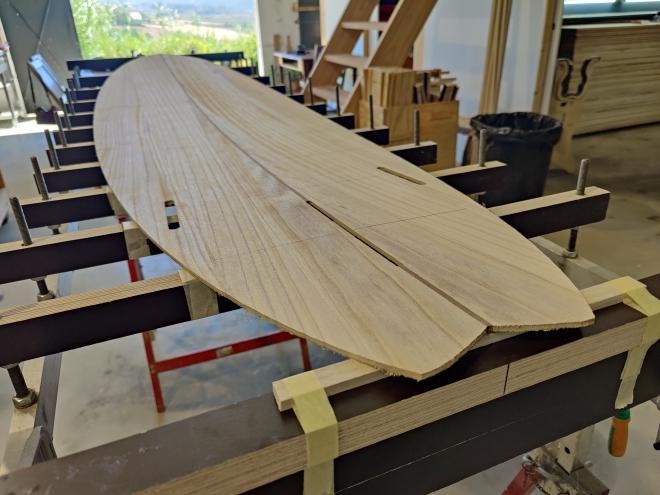
After some emails back and forth with Antoine, we’d agreed roughly the design and type of board I wanted to build, so on arrival, all the “pieces” were already laser cut from Paulownia wood and we set to on assembly.
Day 1: Bottom & Skeleton#
The first day was just a half day, starting around lunchtime. The bottoms of the boards were already cut, and the bulk of the day was glueing the inner skeleton down onto it and making sure the lower profile of the board was right.
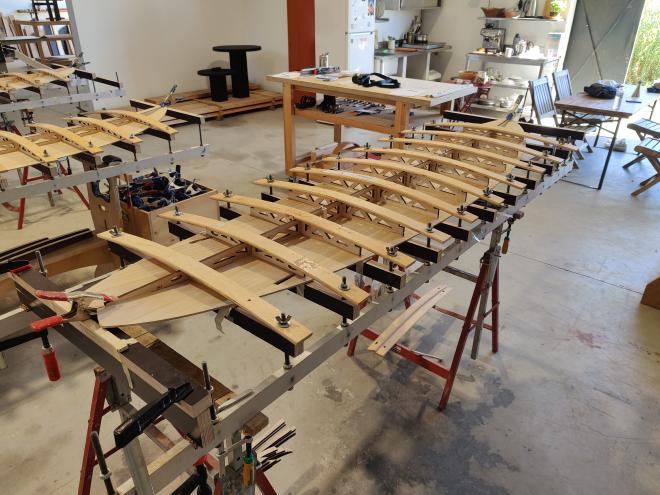
Day 2: Rails & Deck#
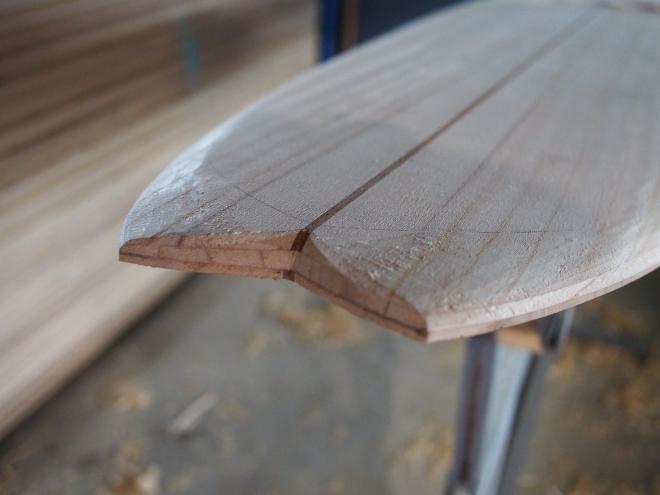
Day two involved lot’s of glue. Most of the day was spend building up what will become the rails. Layer by layer of laser cut wood which we’ll later sand down. We were using a fairly fast acting glue so that we could make fast progress, but that also means not much setting time so we worked in pairs on each others boards. Once the main rails were in, we also glued in some foam in the tail so that the finboxes have got something to grip into.

Once the glue on the rails was dry, we then planed and rasped back the rails to take out all the steps and create a smooth surface to fix the deck onto.
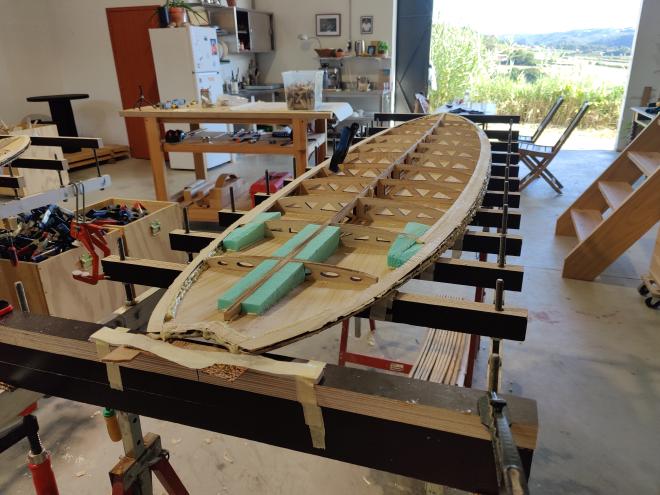
Finally to finish off the day, we moistened the deck wood (to make it pliable) and then glued and clamped that down onto the rest of the board to create a sealed wooden box.

Day 3: Shaping#
On the final day it’s all sanding and planing.
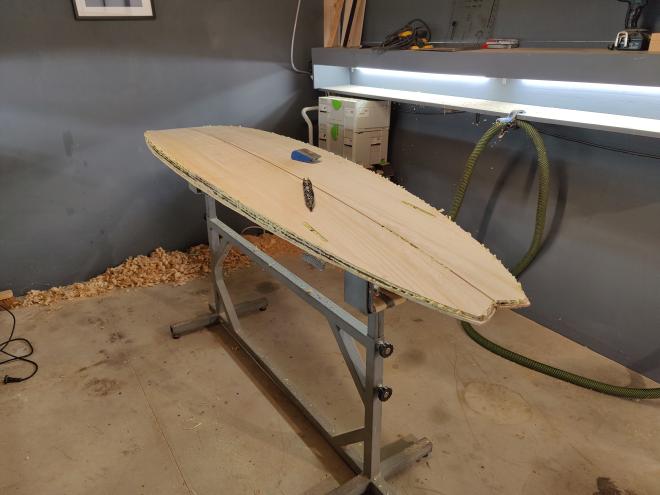
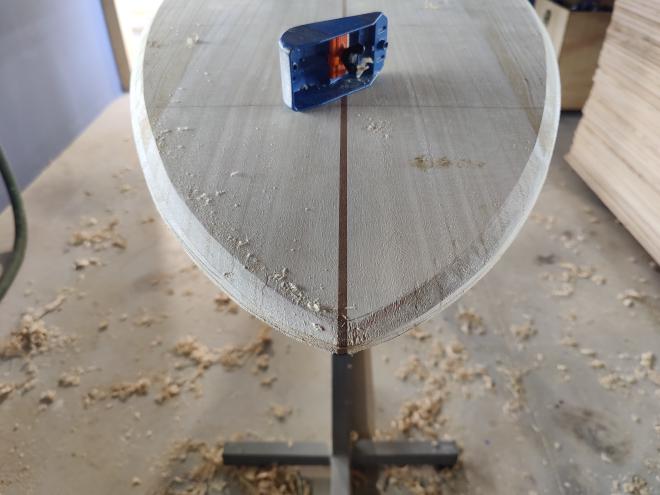
This was a lot of work. First, using a small hand plane to get the right shape and dimensions especially on the nose and tail, making sure it’s as even as possible. Given that wood is a natural material, the whole form warps and settles slightly unevenly after the glue-up so it’s not a certainty that I’m removing the same amount of material from each side. Lots of check, and re-check to make sure it looks fairly even.
Once the main contours are right, the rest is sanding down with an orbital sander to make sure it’s nice and smooth. I went a little too deep on one of the rails, in a way that is visible on the final board - but only I know where to look!
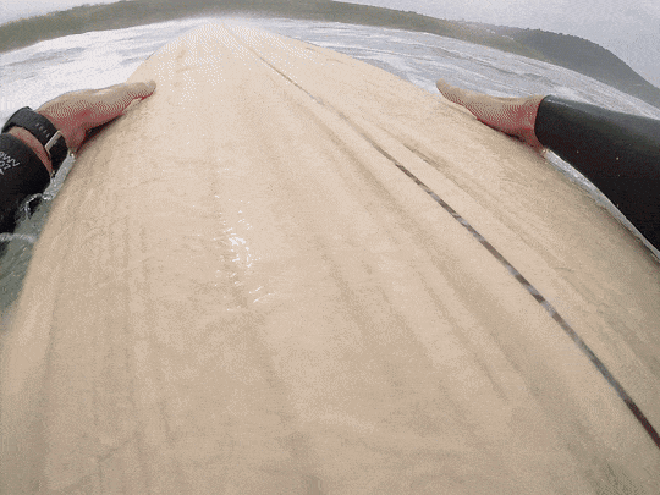
The Result#
Off the bat, this board was fun to surf. Unfortunately, there wasn’t much swell on the portuguese coast during the weeks after the workshop, so I didn’t manage to catch anything particularly notable on it. It’s still pretty nimble though, and a dream to paddle and to carry (and it also fits in the car).